Watching your seed grow can be rewarding, but caring for grass seed during hot weather, particularly sudden heat waves or “hot flashes,” requires special attention.
High temperatures can dry out the soil, stress young seedlings and hinder germination. Follow these steps to ensure your grass seed thrives during extreme heat conditions.
Step 1: Prepare for Planting in Hot Weather
Inspect Seed Quality:
Before planting, inspect your grass seed for any damage, discoloration, or signs of overheating from storage or transit. Heat-exposed seeds may have reduced germination rates, which can impact the success of your lawn.
Store Seed Properly:
Keep your seed in a cool, dry place until you’re ready to plant. Avoid hot areas like garages, sheds, or places where temperatures can spike during the day, as high heat and humidity can compromise seed viability.
Step 2: Choose the Right Time to Plant
Plant at Optimal Times of Day:
Plant early in the morning or late in the afternoon to reduce the impact of heat on your grass seed. Avoid midday planting when temperatures peak, as intense heat can dry out the soil surface too quickly, hindering germination.
Monitor Weather Conditions:
Check the weather forecast and aim to plant on cooler days or after a light rain shower, which can naturally cool the soil and provide initial moisture. Ideally, plan to plant just before a few days of light rain to help the soil stay moist, but avoid planting if there's a big storm in the forecast, as heavy rain can cause soil erosion or waterlogging, which can damage young plants
Step 3: Prepare the Soil
Moisturize the Soil:
Water the soil deeply the day before planting to cool it down and ensure it’s evenly moist. This helps create a favorable environment for seed germination, preventing dry or overly hot soil from causing patchy growth.
Aerate and Till:
Loosen the soil by aerating or lightly tilling the top layer with a rake. This improves seed-to-soil contact, enhances germination, and helps moisture penetrate deeper, keeping the seedbed cooler.
Remove Debris:
Clear the area of rocks, sticks, and weeds to create a smooth, level surface. This helps seeds establish and reduces competition from weeds that can thrive in hot, disturbed soil.
Step 4: Plant the Seed
Plant at the Proper Depth:
Scatter the seed evenly and lightly rake it into the soil, ensuring it is covered but not buried too deeply. Grass seed should generally be planted at a depth of 1/8 to 1/4 inch. Some varieties, like Bermuda, can tolerate slightly deeper planting up to 1/2 inch.
Use a Starter Fertilizer:
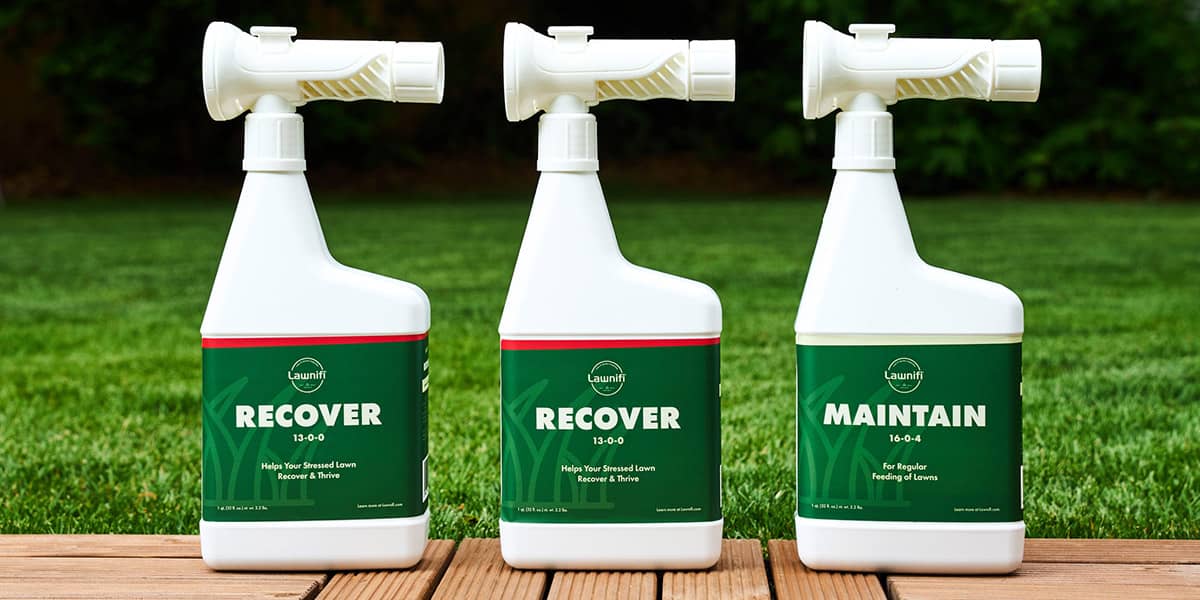
Apply a starter fertilizer high in phosphorus, such as Lawnifi Grow, to support robust root development. Phosphorus promotes root growth, essential for young seedlings facing hot weather challenges.
Step 5: Enhance Soil Moisture Retention
Use Soil Moist Granules:
Incorporate Soil Moist Granules into the soil to help retain moisture, reducing watering frequency. These granules absorb water and slowly release it into the soil, keeping the environment moist during hot spells. Follow these steps:
- Prepare the soil by removing debris and loosening the top 4–6 inches.
- Mix Soil Moist granules into the soil at a rate of 1–2 pounds per 100 square feet.
- Level and smooth the soil surface.
- Apply grass seed evenly over the prepared area using a spreader.
- Lightly rake the seed into the soil to ensure good seed-to-soil contact.
- Water the seeded area thoroughly but gently to avoid washing away the seeds.
- Mulching Tips: Apply a light layer of mulch, such as straw, to shield the soil from direct sunlight. This helps retain moisture, regulates soil temperature, and prevents the soil surface from drying out too quickly. Avoid covering the seed too thickly, as it needs light to germinate.
Step 6: Watering Strategies During Heat Waves
Initial Watering:
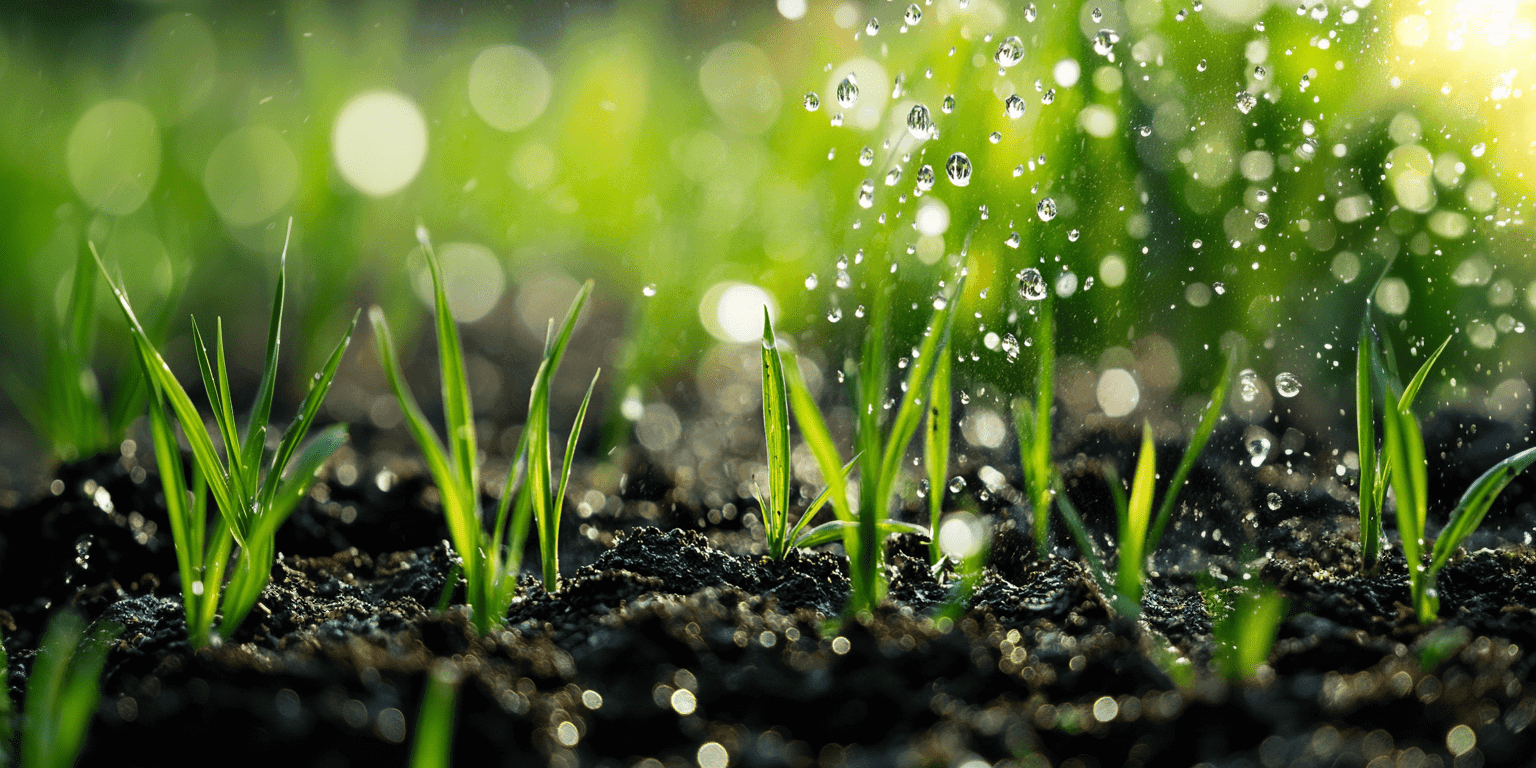
Water the area immediately after planting to ensure the soil is consistently moist but not waterlogged. Use a gentle spray to avoid displacing the seed. This initial watering is critical for jumpstarting germination, especially in hot weather.
If the seed isn't watered right away, it may sit in the dry, hot soil, where it can dry out or 'bake' in the sun, becoming non-viable. This can prevent the seed from germinating later, meaning you'll likely need to re-seed.
Proper initial watering helps the seed absorb moisture and begin the growth process, giving it the best chance to establish.
Frequent Light Watering:
Water lightly 2–4 times daily to maintain surface moisture during extreme heat. This frequent watering helps counteract rapid evaporation caused by high temperatures, creating a stable environment for the seed.
Water in the Morning and Evening:
Prioritize watering early in the morning and late in the afternoon when evaporation rates are lower. This timing ensures the soil remains cool and moist longer, giving seeds the best chance to germinate.
Step 7: Provide Temporary Shade
Ensure Proper Sunlight:
While providing shade can protect your seeds from intense heat, it's important not to shade them all the time. Seeds and young plants still need sunlight to grow, so make sure they receive at least 6 hours of direct sunlight each day.
Temporary shade should only be used during the hottest parts of the day, or for an hour or two after watering, to prevent overheating and rapid moisture loss.
Use Shade Cloth or Burlap:
Create temporary shade over the newly planted area using shade cloth or burlap during the hottest parts of the day. This reduces soil temperature and minimizes moisture loss, helping seeds sprout successfully.
Avoid Solid Covers:
Use breathable materials for shade. Solid covers can trap heat and humidity, worsening conditions. Opt for materials that allow air circulation while blocking sunlight.
Step 8: Monitor and Adjust Care
Daily Checks:
Regularly check soil moisture and the progress of germination. Hot weather can dry soil faster than expected, so adjust the watering frequency as needed to maintain consistent moisture.
Watch for Germination Signs:
Look for the first signs of sprouting, usually within 5–6 weeks, depending on the grass type. Factors such as drought, extreme heat or the time of year can significantly extend the normal germination time. Maintain the watering schedule until seedlings are well established.
Step 9: Long-Term Maintenance During Heat Waves
Gradual Watering Reduction:
As seedlings grow, gradually reduce the watering frequency while ensuring the soil remains moist. Transition to a regular watering schedule as the grass becomes established.
Prepare for Heat Waves:
Monitor weather forecasts for upcoming heat waves and adjust care practices, such as increasing shade or watering frequency, to help your new grass survive high temperatures.
How to Successfully Establish Grass Seed During Hot Weather - Answered
To establish grass seed in hot weather, store it in cool, dry conditions and plant early morning or late afternoon. Prepare the soil by aerating, removing debris and keeping it moist.
Sow seeds 1/8 to 1/4 inch deep, apply a phosphorus-rich starter fertilizer, and water lightly 2–4 times daily.
Use Soil Moist Granules to reduce watering, add light mulch, and provide temporary shade to protect from heat.
Monitor soil moisture, adjust care as needed and gradually reduce watering as seedlings grow to help your grass seed thrive.
Caring for grass seed during hot weather requires a proactive approach. By following these steps, you can overcome the challenges of extreme heat and successfully establish your lawn. Remember to monitor the weather and adjust your care to ensure the best results. With the right strategies, your grass seed can thrive even in the most challenging conditions.