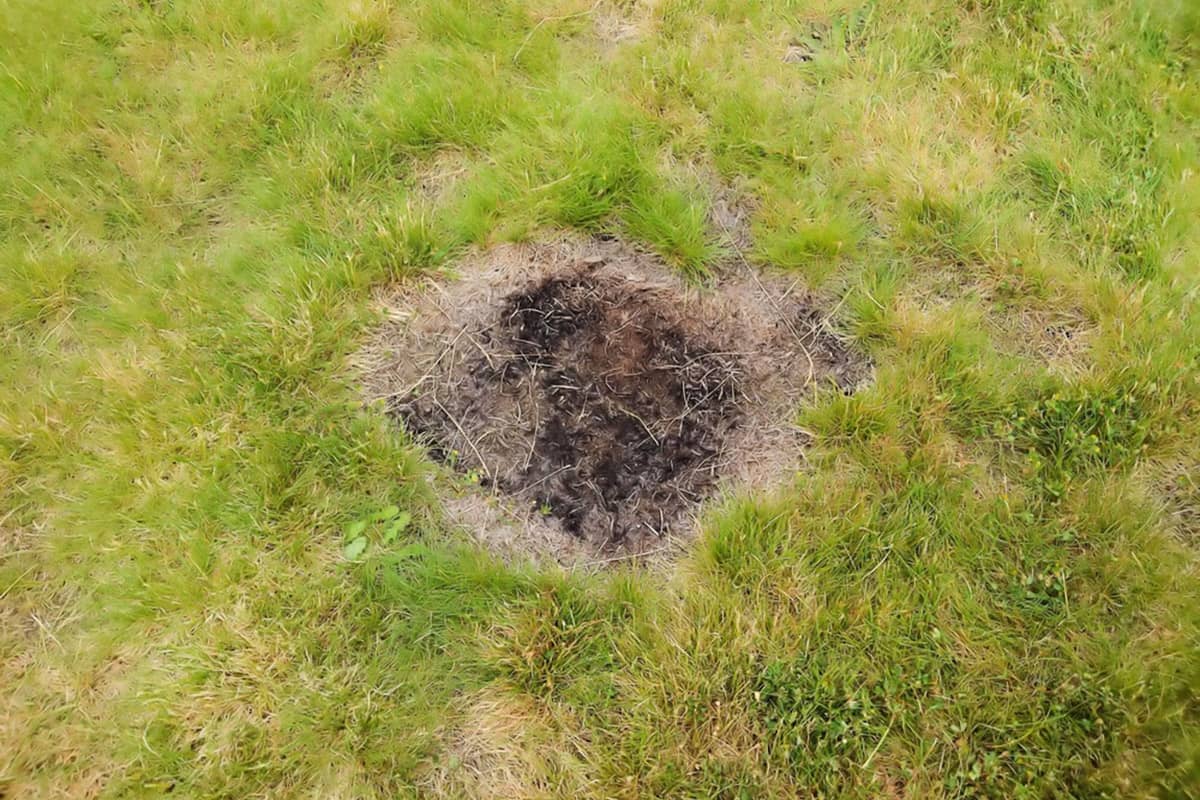
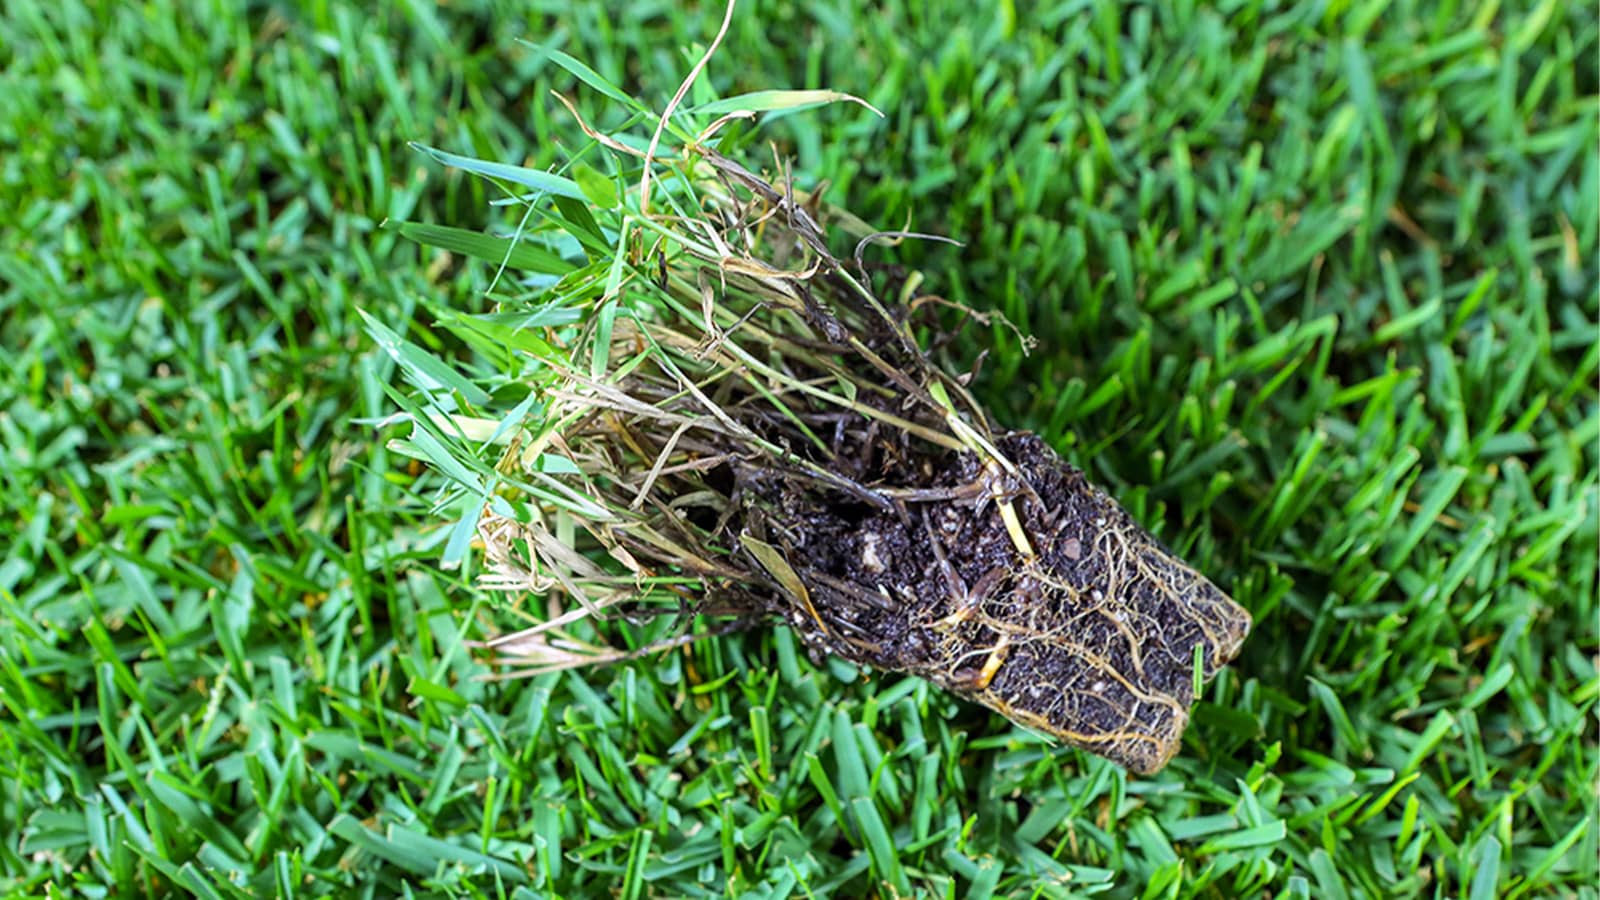
Grass plugs are a fantastic solution for repairing damaged lawn areas or establishing a new, lush lawn where traditional methods like sod or seed are less effective. Especially for varieties like St. Augustine, which doesn’t have a viable seed option, grass plugs are ideal due to their ease of planting and excellent adaptability to various soil types.
This guide will walk you through the detailed steps necessary to ensure your new grass thrives from the start.
How to Plant Grass Plugs
Step 1: Test Your Soil
The success of your grass plugs begins with understanding your soil's health. Start by taking a soil sample and sending it to a laboratory for a comprehensive analysis, which includes checking pH levels and nutrient content. Expect results in about two weeks. This crucial step influences how well your grass will absorb nutrients from fertilizers, making them more effective.
Avoid applying non-selective herbicides until after testing, as these can temporarily alter soil pH.
Step 2: Choose a Type of Grass to Install
Selecting the appropriate grass type is more than just about looks—it's about performance in your specific climate. Factors to consider include the grass’s adaptability, maintenance needs, tolerance to shade, drought, and pests, and aesthetic qualities like color, blade width, and texture.
Step 3: Measure Your Planting Area
Knowing the size of the area you need to cover is crucial. Use a tape measure to find the total square footage, considering any landscape features like sidewalks or driveways. Alternatively, our Area Calculator Tool, allows you to enter your address and digitally map out the area for a precise measurement.
Step 4: Prepare Your Soil
First eliminate any weeds, insects or fungus. This may involve pulling weeds by hand or using herbicides, insecticides or fungicides. If you've used herbicide, allow 10-14 days before installing new grass plugs.
Step 5: Drill Holes
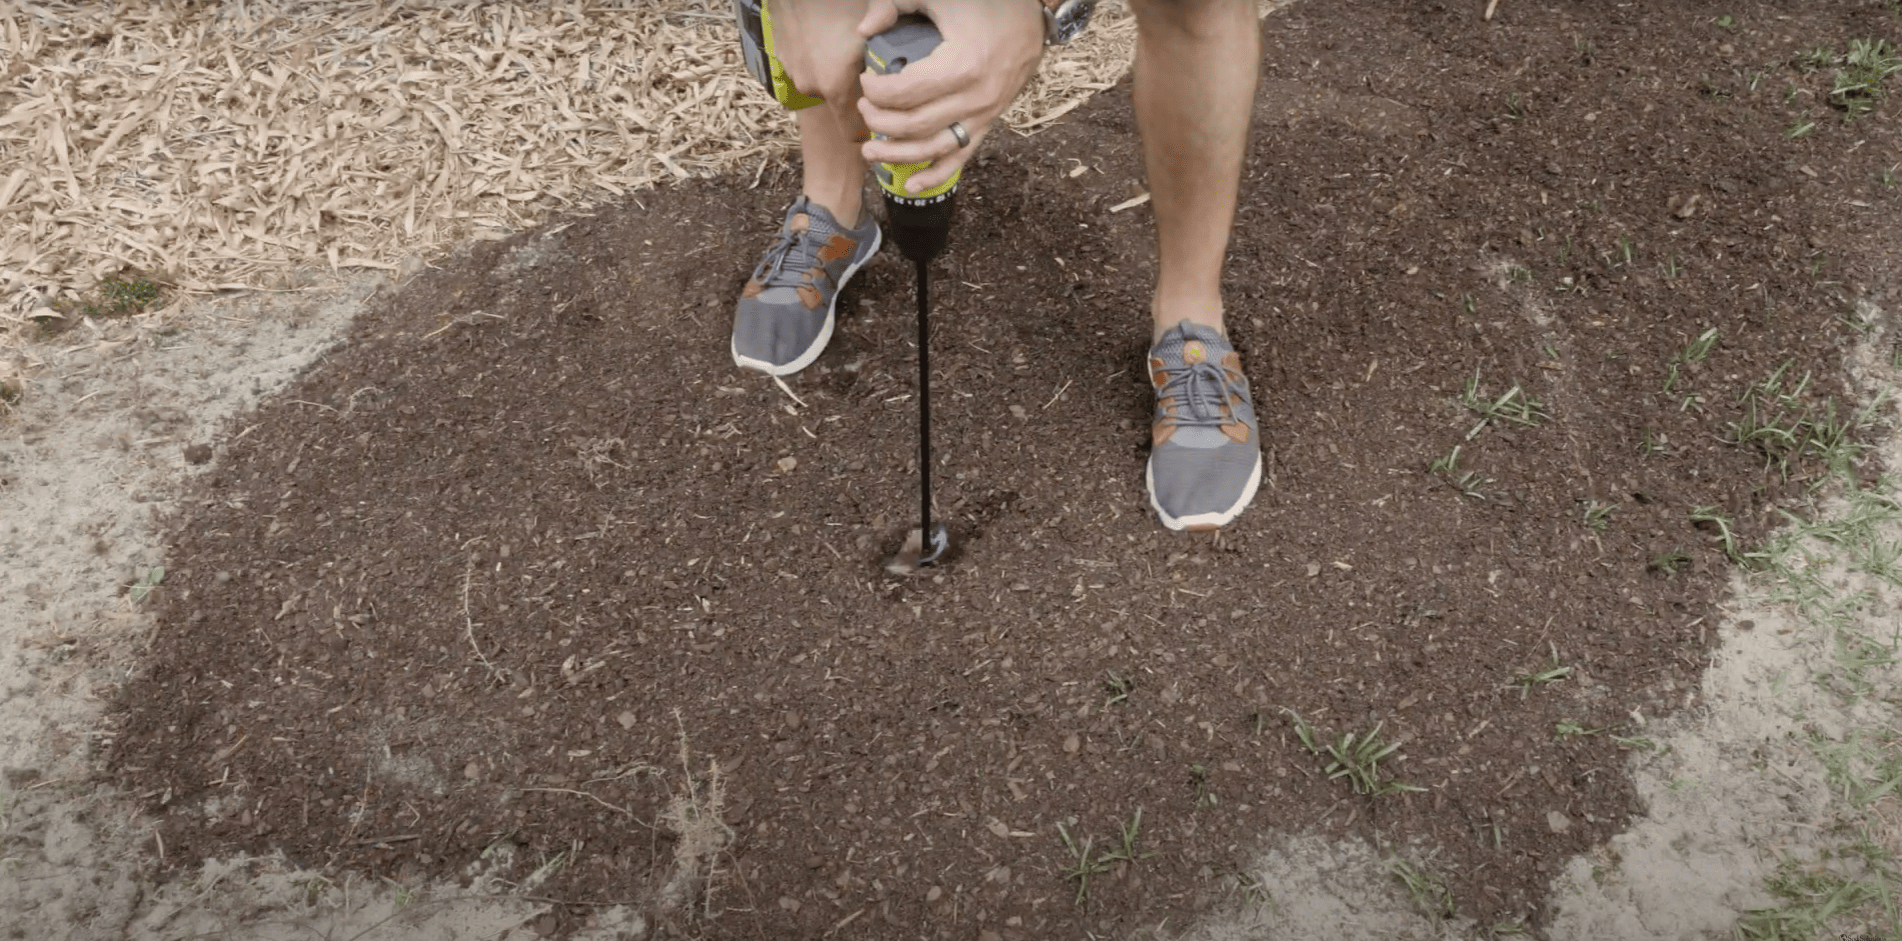
Water the soil to soften it, then drill holes using an auger bit, spacing them 6–18 inches apart depending on the grass type. Mark the soil with spray paint to ensure even spacing and avoid drilling too deeply—keeping the tops of the plugs level with the ground surface.
Step 6: Fertilize Before Planting
Fertilize the drilled holes using a fertilizer that matches the needs identified in your soil analysis, particularly one rich in phosphorus, which is crucial for root growth and the successful establishment of new sod.
Understanding fertilizer labels can be challenging, but our website provides guidance on this topic.
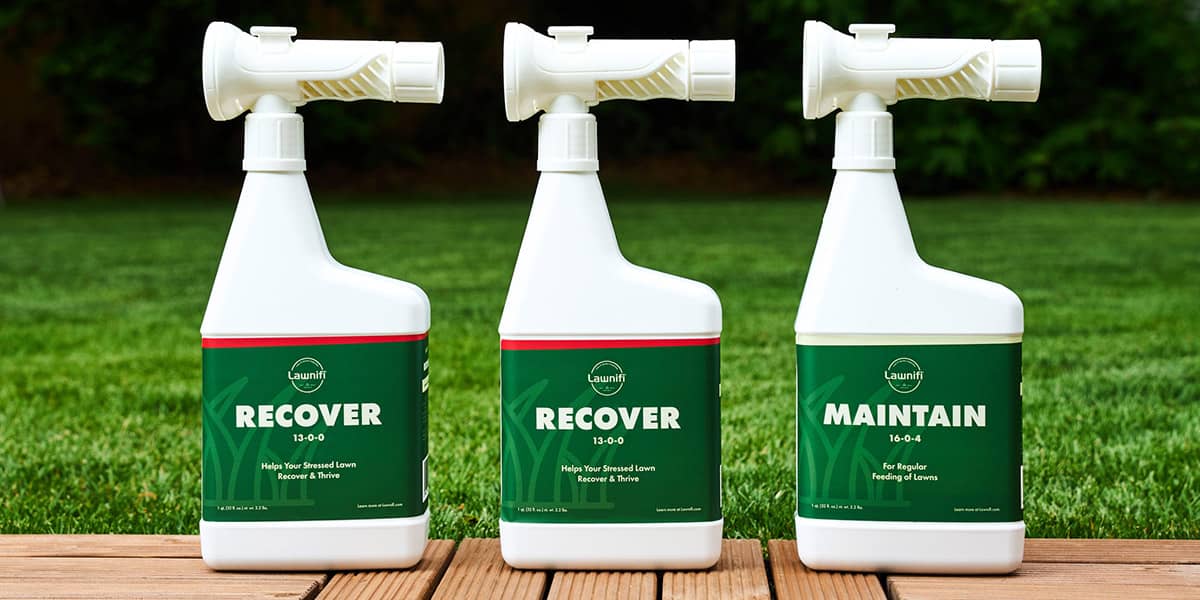
We recommend using Lawnifi’s® New Lawn Starter Box, which includes three bottles of liquid fertilizer to support new grass plugs, providing essential nutrients such as phosphorus, potassium and carbon to promote healthy root development. Soil Moist is also a really helpful tool that serves to reduce watering.
Step 7: Plant the Grass Plugs
Now that your soil is prepared, you can install the grass plugs.
Press the plugs firmly into the fertilizer-treated holes, ensuring no gaps around the edges. Fill any excess space with loose soil to secure the plugs tightly. Ensure the base of the grass blades is level with the ground.
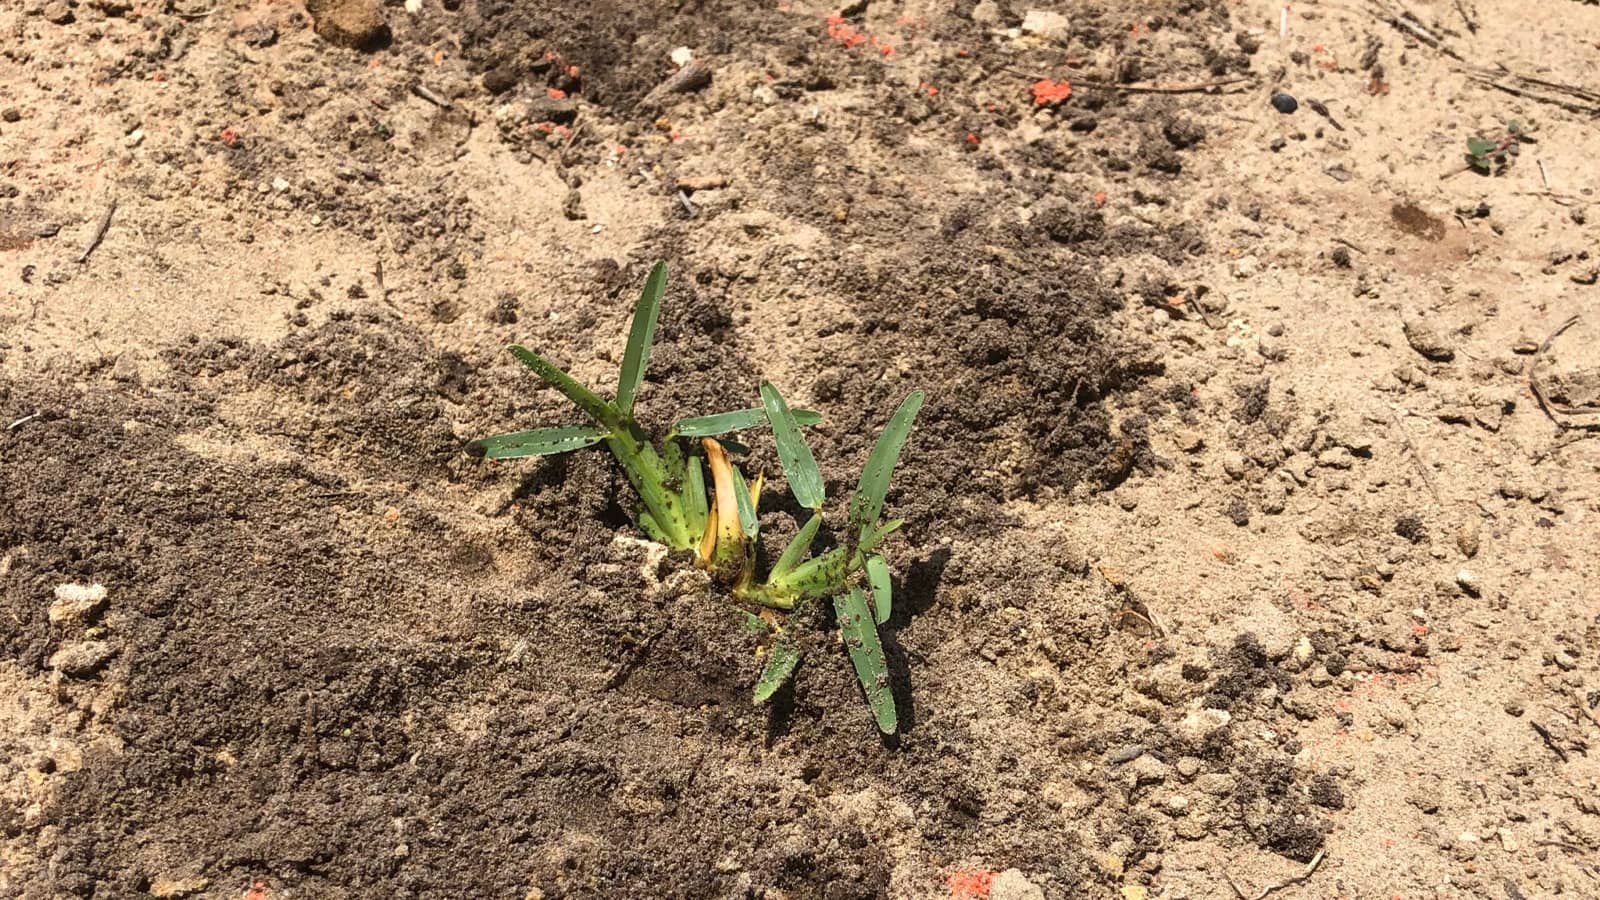
Step 8: Water the Grass Plugs
Immediately after planting, water the grass plugs generously to help them settle in and prevent air pockets. This initial watering is crucial to reduce transplant shock.
Step 9: Post-Installation Care
Water your grass plugs daily for 10–20 days, adjusting for rainfall. Continue using the New Lawn Starter Box as directed, keeping the soil moist 6–8 inches deep.
After 10–20 days, test for rooting by gently pulling on a plug; it should show new runners and resist being uprooted. Once rooted, reduce watering to twice a week.
After planting your grass plugs, it's crucial to water them thoroughly. This helps to settle the soil around the roots and reduces transplant shock. Continue to water the plugs regularly, keeping the soil moist but not waterlogged, for the first few weeks.
You should wait until the grass plugs have established and grown to at least 3-4 inches in height before mowing. This typically takes about 3-4 weeks, but the exact time can vary based on your specific grass type and growing conditions. When you do mow, ensure your mower blades are sharp to avoid damaging the young grass and mow at the highest setting for the first mow. Once the first 30 days after installation have passed, begin mowing at your grass type’s ideal height. Find your grass type’s ideal height in our Homeowner Maintenance Guides located here.
It's recommended to wait until you've mowed at least 3–4 times before applying any weed control products. This waiting period allows the plugs to establish roots and reduces the risk of stress from chemical applications. Always follow the label instructions for any products you use to ensure the safety and health of your new grass.
How do I plant grass plugs? - Answered
To plant grass plugs, first test and prepare your soil by removing existing grass or weeds and adjusting the pH as needed. Choose the right type of grass based on local climate and lawn conditions.
Measure your area, then drill holes 6-18 inches apart in the soil after moistening it. Fertilize the holes with a phosphorus-rich fertilizer before planting the plugs firmly, ensuring they are level with the ground.
After planting, water the plugs thoroughly and continue daily watering for 10-20 days. Monitor growth and establish a reduced watering schedule once the plugs are rooted.